

Forms
Forms can be used to define screens with a different layout and/or to get data from users that will be stored in more classes at the same time.
In addition to standard class detail screens, you can define forms to offer screens with a different layout. Or offer screens that collects data that is stored into multiple classes at once.
Creating a form
To add a form to your application, click the "Form definitions" button in the backstage. In this screen a new form definition can be created. Give the form definition a name, add a main class, then save. You are now ready to define what data the user should input and in which fields this data belongs.
Setting fields
On the "Fields" tab you add the fields which will be shown in the form. You can set the name that the user will see for each field in the form by filling in the "Name" column. If no name is entered, the name of the field in the blueprint will be used. See image below:
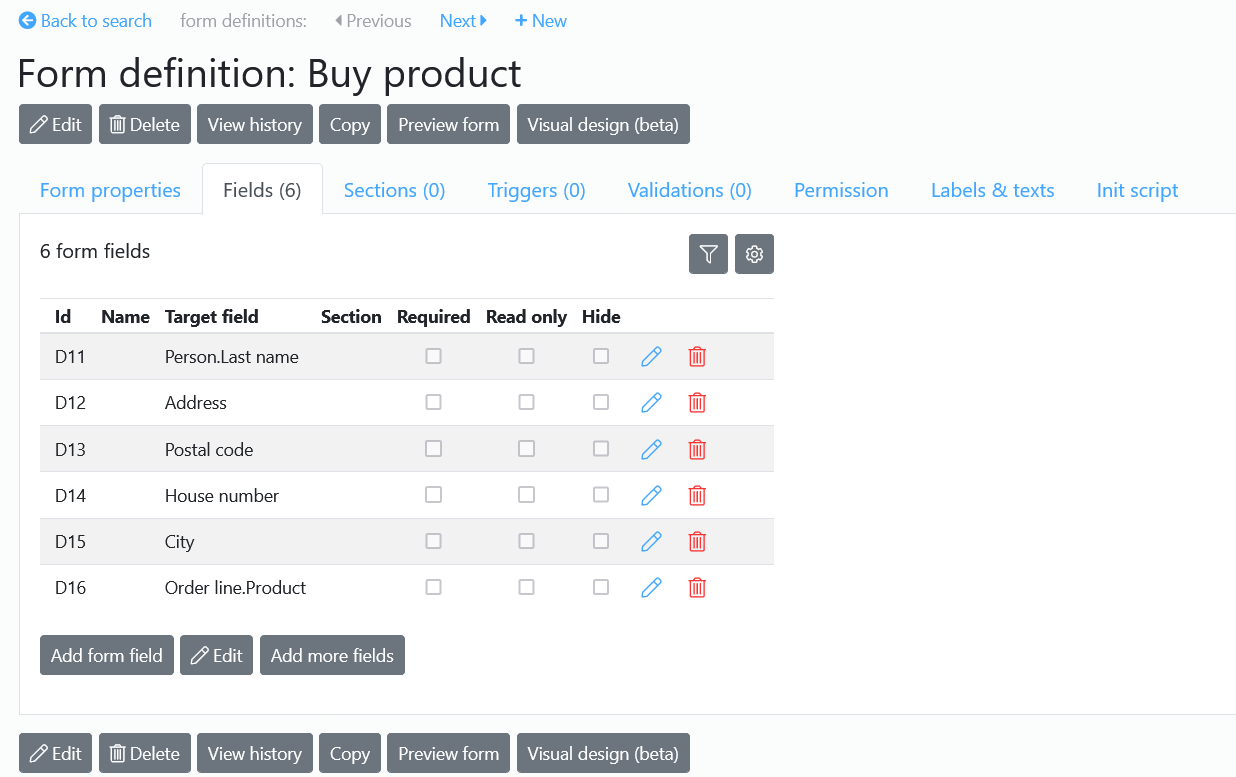
For each field you can set the permissions on the tab 'Permission'. For each user group you can define whether the field is hidden, displayed or required. You can use filters for conditional behaviour. And you can use a velocity helper for non-standard permissions.
Creating sections
On a form normally all fields are listed in vertical order. But when the form has many fields it might be more convenient to cluster the fields in groups.
This can be done under the tab "Sections" of the form. Here you can edit the sections of the form
Using forms
In the backstage you can access all forms through the menu Blueprint - Forms & filters - Form definitions
You can add a form to a menu item in your application. See Drop down menu.