

-
-
-
- Building blocks of the data model
- Basic concepts
- Classes
- Key fields
- Local lookup lists
- Fields and data types
- Defining the columns of a table
- Relations between classes
- Global lookup lists
- Filters
- Universal connected classes
- Deleting foreign records
- Class inheritance
- Storage of personal data on test and develop environment (scrambling)
-
Defining the columns of a table
Data on a screen or in a print can be represented in two ways:
- in a table, showing many records as rows,
- at a details screen, showing the details of one record.
Usually you want to see all relevant fields on the detail screen but do not want to see all fields as columns in a table.
When you want to define only certain fields to be shown as columns in a table, go to the section "Columns in a table" in the tab "Presentation" of the details view of the class.
By clicking on the "Add columns" button a window will appear in which the fields that you want to be shown can be selected. In most cases you will use fields from the current class as columns in table, but it is also possible to add fields from related classes.
Go into edit mode to modify column properties or remove columns. Under "Display" select "as label" or "as link". By choosing "as label" the field value will be displayed. By choosing "as link" a hyperlink to the foreign object is displayed (when the field has a foreign class). This makes it possible for users to jump to the foreign object directly instead of going to the details first. Below an example of what this looks like in the backstage:

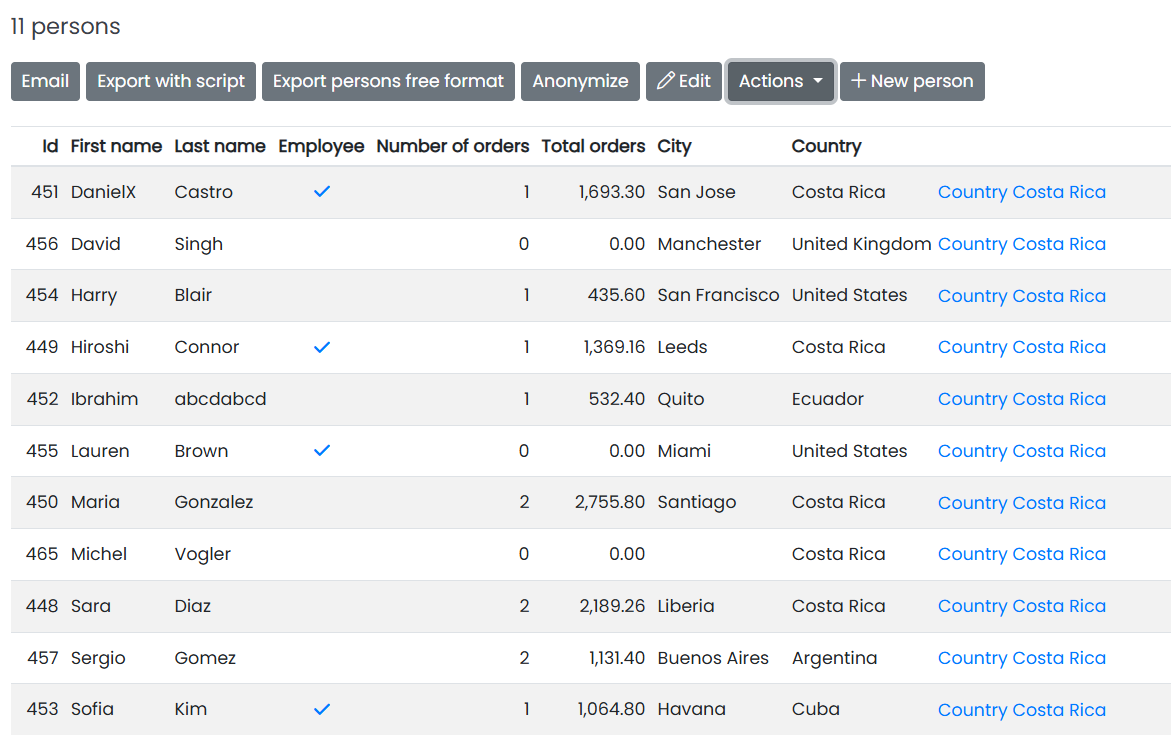
Below an example of what this looks like in the application:
To sort the objects in a table, you have to set the property Sort to either "ascending" or "descending", defining the initial sorting order. The order can always be changed by users of the application by clicking the column headers. "Position" defines the position of the field in relation to the other fields in the table. It also defines the sorting priority.
The order of the columns can be arranged by dragging the cursor to the left of the field names (in edit mode).