

-
-
-
- Building blocks of the data model
- Basic concepts
- Classes
- Key fields
- Local lookup lists
- Fields and data types
- Defining the columns of a table
- Relations between classes
- Global lookup lists
- Filters
- Universal connected classes
- Deleting foreign records
- Class inheritance
- Storage of personal data on test and develop environment (scrambling)
-
Classes
The building blocks of your blueprint are classes. Classes can be accesed through the backstage, by clicking the "Classes" button. At the left side of the screen, the classes in this blueprint are listed. Classes should have names starting with a lowercase alphabetic character.
When creating a class, the following data must be entered:
- name
The name of the class should start with a lower case because the name is frequently used in dialogs. - plural (optional)
The plural should also start with a lower case, and is also frequently used in dialogs. - Group (optional)
Classes can be organized by adding them to groups. New groups can be added with the button next to the dropdown menu. - Comment (optional)
A comment contains any further information about the class, which is not seen by the user. This is for your reference only. - Deprecated identifier
The previous identifier that can be used in velocity or the rest api. This facilitates gradual name changes. - Deactivated
Indicates that the class is not in use.
Add fields
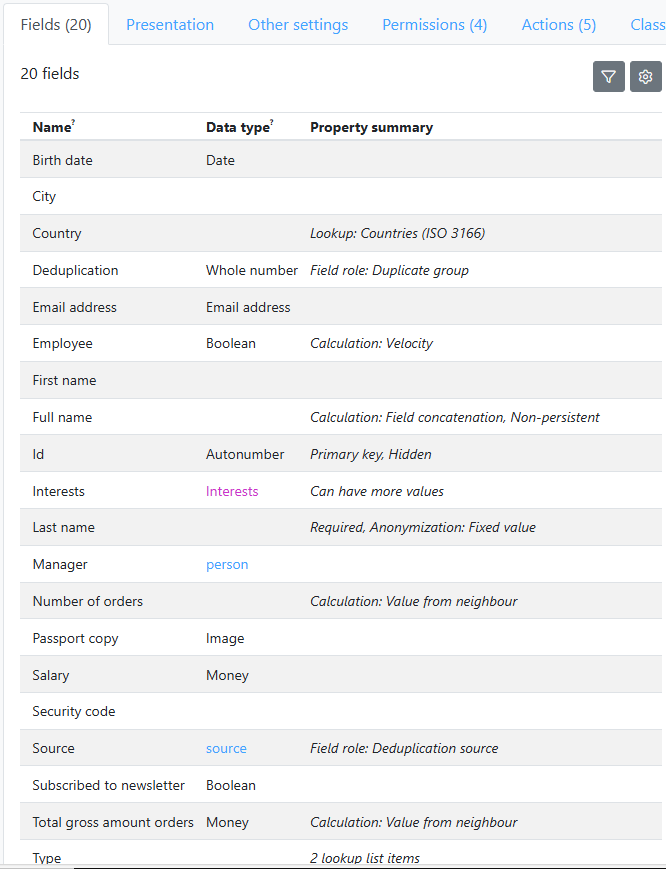
All classes have fields, they are the properties of the objects in this class. When you think of a class as a table, then the fields are the columns. The class "person" might have fields like "name" and "type". You can find the fields that belong to a class under the "fields" tab. To add fields to your class, use the "Add field" button and a new line will appear. Here, the following properties should be set:
- name
The name of the field is used to identify the field. All fields in a class should have unique names. - data type
Click the "Select from a list with explanations"-button to select a data type. The data type influences how the data is shown in application screens and how users can modify the data. Furthermore, it defines how user input is validated. For example when the data type is "date", only valid dates will be allowed. If we do not specify a data type, the data type "text" will be used as default.
More information on data types can be found in the documentation on fields and data types.
More properties can be set at the field details.
Primary key
In almost all cases the objects of your class need to be stored in a database and need to be updated by users. In order to allow updates, the class requires primary keys. Primary Keys are fields that identify separate objects. Most classes have one single primary key field, but in some cases a combination of fields is more suitable.
A numerical autonumber id is a good way to identify separate objects. To add a numerical key field, click on "Add key field". To change an existing field into a key field afterwards go to the details of the field and check the 'key field' property.
Label fields
"Key fields" are used to identify your objects in a technical way. However, this doesn’t always make sense to a user. Usually your class has other fields that identify the objects for users better, like a "name". The fields that best identifies the object for users are called the label fields. You can select a single field, but also a combination of fields (like "first name" and "last name"). You can select any combination of fields of your class as the label field, and it is possible to add a prefix or postfix.
You can set the label fields on the tab "Presentation".
More properties
More on search fields in Searching for data.